Different ways to send and receive an email with Golang
There are multiple ways to send and receive email with Go (Golang). In this article we'll take a look at a couple of them and why we think using HTTP is actually a great method vs SMTP, IMAP and POP3.
If you're only interested in one of these then you can jump to the relevant section:
Sending email with Go
Traditionally emails are sent via SMTP and SMTP is built into Go with the
net/smtp package.
Sending email with SMTP in Go
The code below shows how to send a simple Email via SMTP. It's pretty easy, but
as you can see there's nothing to help us build the email itself. We can use the
mime/multipart package, but you still have to fully construct the email so we
just did it by hand below:
package main

import (
  "log"
  "net/smtp"
)

func main() {
  // hostname is used by PlainAuth to validate the TLS certificate.
  hostname := "host from account"
  auth := smtp.PlainAuth("", "username from account", "password from account", hostname)

  msg := `To: to@example.net
From: from@example.com
Subject: Testing from GoLang

This is the message content!
Thanks
`
  err := smtp.SendMail(hostname+":587", auth, "from@example.com", []string{"to@example.net"},
    []byte(msg))
  if err != nil {
    log.Fatal(err)
  }
}
What's wrong with sending email via SMTP?
The problem with SMTP is that it's verbose. The code above will: open a TCP connection, setup TLS, send authentication details, register the sender, register a recipient, send the message content, say goodbye and close the connection.
Each one of the steps above takes time and requires an acknowledgement to be sent from the server. That's great, but what if your server is a long way away and it takes 100ms for each round-trip. We're looking at almost a second per email in latency alone.
You can obviously use a Go routine to do this work but it'll still take a second to complete.
Using an HTTP API to send email with Go
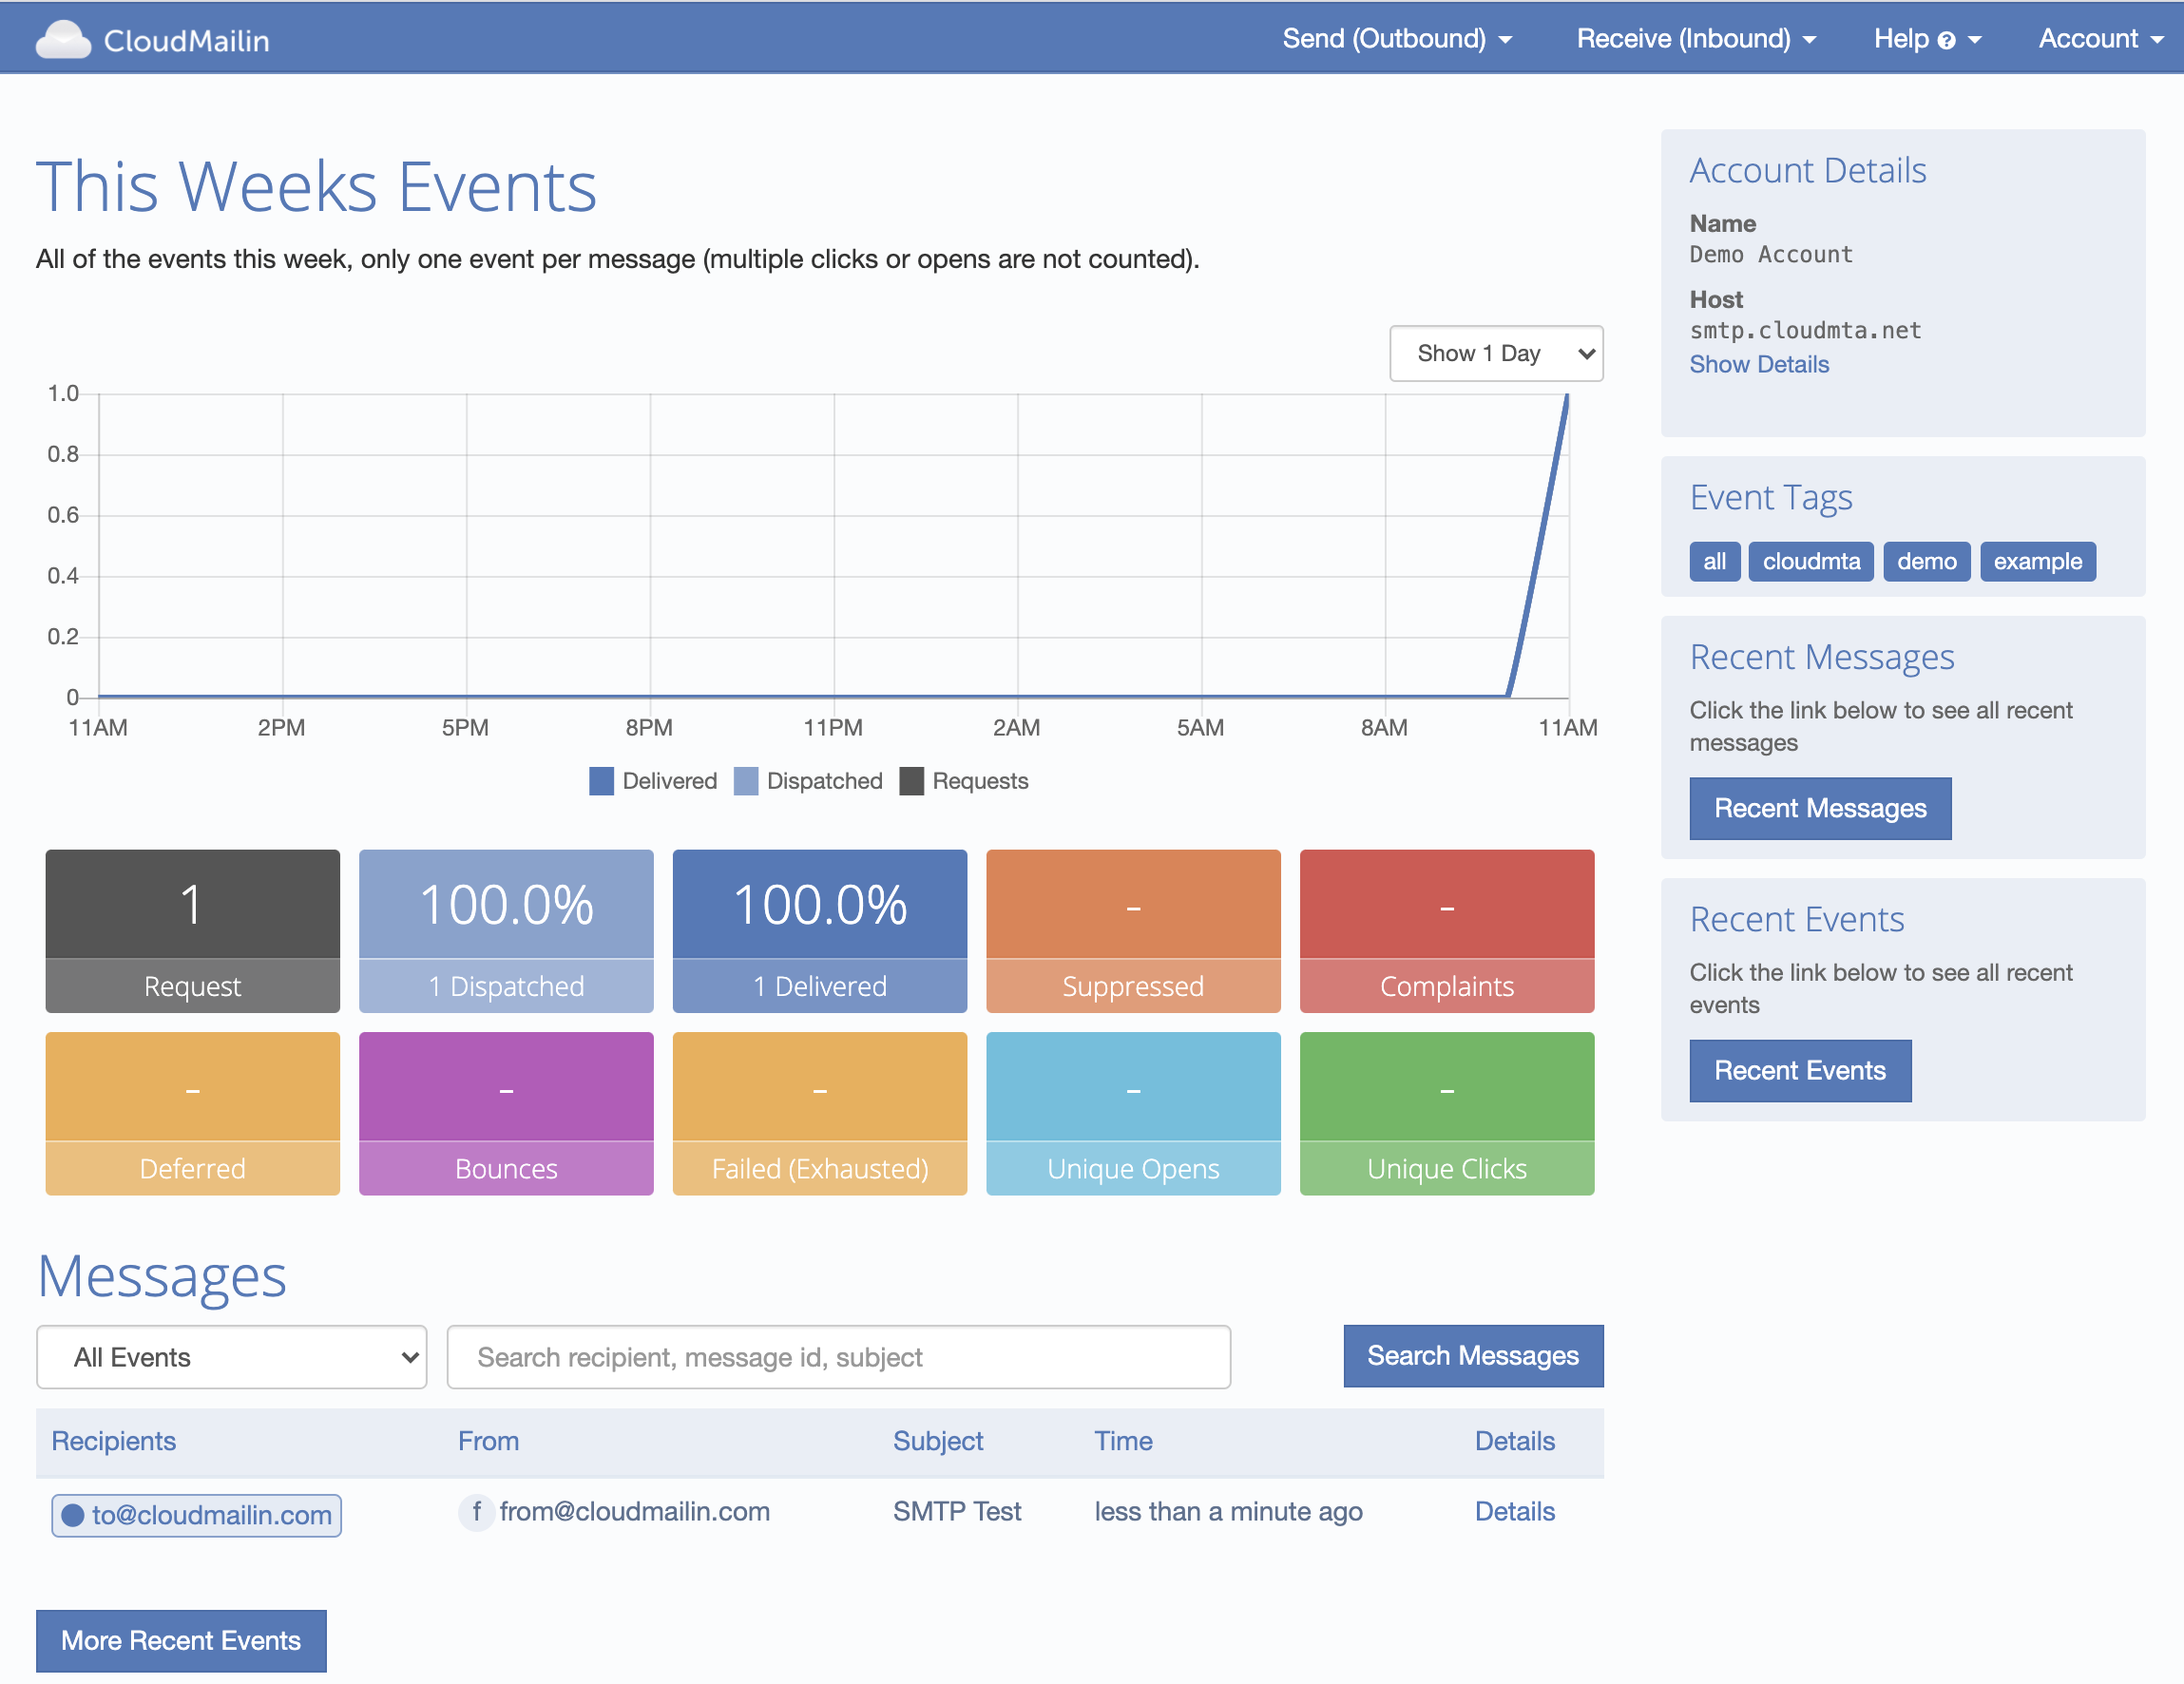
With the CloudMailin HTTP API we can make a single JSON HTTP POST with our email content from our Go application.
We can also take advantage of the CloudMailin API passing separate HTML, Plain and Attachment parameters and having the API construct the mime email message. First we'll install the Go CloudMailin email client package (CloudMailin Go):
go get "github.com/cloudmailin/cloudmailin-go"
Once the email package is install we setup a client and construct the email in Go.
package main

import (
  "fmt"

  "github.com/cloudmailin/cloudmailin-go"
)

func main() {
  // Create the default CloudMailin Client. This example will panic if there
  // are any failures at all. This will take details from the environment.
  client, err := cloudmailin.NewClient()
  if err != nil {
    panic(err)
  }

  attachment, err := cloudmailin.AttachmentFromFile("./logo.png")
  if err != nil {
    panic(err)
  }

  // Generate an example email
  email := cloudmailin.OutboundMail{
    From:        "from@example.com",
    To:          []string{"to@example.net"},
    Subject:     "Hello From Go 😀",
    Plain:       "Hello World",
    HTML:        "<h1>Hello!</h1>\nWorld",
    Tags:        []string{"go"},
    Attachments: []cloudmailin.OutboundMailAttachment{attachment},
    TestMode:    true,
  }

  _, err = client.SendMail(&email)
  if err != nil {
    panic(err)
  }

  // The email.ID should now be populated
  fmt.Printf("ID: %s, Tags: %s", email.ID, email.Tags)
}
This time we can take advantage of CloudMailin to construct the email. We pass a separate plain and HTML part and have the API construct a full mime message for us. Finally we'll make the HTTPS request to send the email.
What if we want to include an attachment with our message?
As you can see in the example above we can easily add an attachment to our
email. We can quickly create an attachment by reading a file from disk. This
will setup the attachment body, content-type and filename automatically for
us.
The attachment simply needs to be added to the attachments slice in our email message struct.
Advanced features and sending the email
As you can see we can also take advantage of some advanced features like tags, which help us to view statistics for emails and TestMode, which allows us to simulate a message without actually sending it, useful for development or staging.
More details can be found in the Outbound Documentation.
Summary
That's it! Sending via the API is faster and we can see all of the details of the sent message in the returned message struct. You can also see the details of the message within the CloudMailin dashboard.
How can I Receive email with Go?
There are a couple of different methods to receive email in the Go programming language.
Using SMTP, POP3 and IMAP
Receiving email traditionally requires a slightly more complicated setup. First you need to install and run an SMTP server to receive the email and email is typically accessed via POP3 or IMAP. Of course, you can use an existing email setup like Outlook (Office 365) or Gmail.
There's no built in support for POP3 or IMAP in Go but a quick google will show a few options.
What's wrong with SMTP, POP3 and IMAP?
Installing a package isn't a big deal but, these approaches also rely on us running our own servers and have another major downside. The major downside with this approach though is that you also have to periodically poll for new emails. Although it's quite feasible in a web environment polling isn't ideal.
Receiving email via Webhook in the Go programming language
With CloudMailin you can receive email in Go via Webhook HTTP POST. The server setup is taken care of for you and you receive the email via Webhook the instant it's received by the SMTP server.
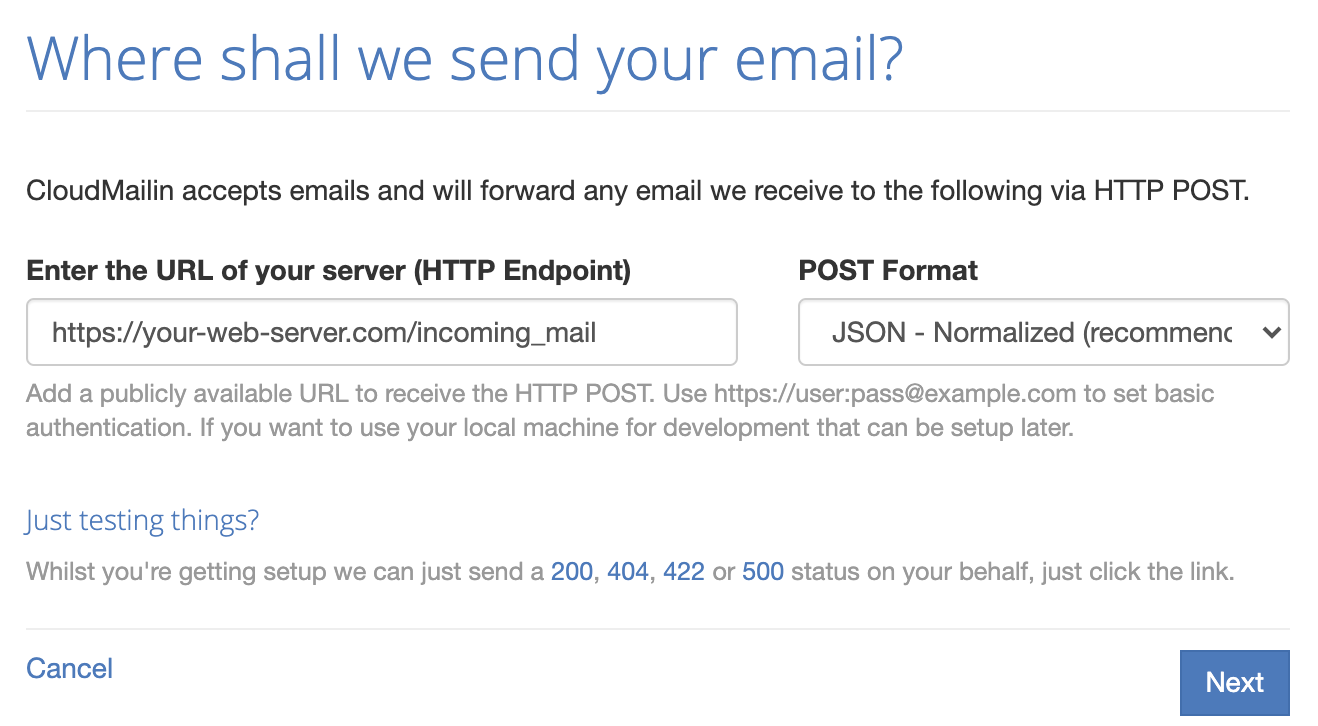
In order to use CloudMailin's email to Webhook we need to first set a target URL in CloudMailin. The target does need to be a publicly accessible HTTP endpoint, however, we can use Postman examples to get started.
Adding code to programatically receive email
Once we've our CloudMailin email address and set our target we'll need to add some code. We'll first install the CloudMailin Go package.
go get github.com/cloudmailin/cloudmailin-go
Once we've installed the package we'll need to start a web server to receive the Webhook.
package main

import (
  "fmt"
  "log"
  "net/http"

  "github.com/cloudmailin/cloudmailin-go"
  )

func main() {
  http.HandleFunc("/", func(w http.ResponseWriter, req *http.Request) {
    message, err := cloudmailin.ParseIncoming(req.Body)
    if err != nil {
      http.Error(w, "Error parsing message: "+err.Error(), http.StatusUnprocessableEntity)
      return
    }

    fmt.Fprintln(w, "Thanks for message: ", message.Headers.MessageID())
  })

  http.ListenAndServe(":8080", nil)
}
This is a fairly comprehensive example but there's much more detail in the CloudMailin Inbound Documentation.
What if I want to bounce an inbound email?
In the example we start by parsing the email into our struct. If the email is to an unaccaptable email address (in this example noreply@example.com) we can raise a 4xx status code (such as 403 http.StatusForbidden).
With CloudMaiin HTTP Status Codes matter. Sending a 4xx status code will bounce the email and sending a 5xx status code will ask the sending server to retry later.
if strings.HasPrefix(message.Envelope.To, "noreply@") {
  http.Error(w, "No replies please", http.StatusForbidden)
  return
}
Receiving email headers, replies and the email body
Generally when we receive an email we want to know details such as the sender and the subject of the email. Although the from address is in the SMTP transaction (called the envelope in the JSON), this is generally the route back to the sending SMTP server and can differ from the from address in the email headers.
We can access the headers using the message.Headers and the related functions.
Because headers can occur more than once in an email, we generally want to use
the message.Headers.First to get the first (starting from the bottom) entry in
the headers of this key.
For example to access the subject we can use:
message.Headers.First("subject")
We also have some helpers for common headers such as the subject so we can the following to access the subject:
message.Headers.Subject()
We also generally want to access the body of the email. If the email is a reply then we can take advantage of email reply parsing too.
Using the following we can take the parsed email reply and if it does not exist the full plain text of the email. Or we can take the HTML part of the email.
body := message.ReplyPlain
if body == "" {
  body = message.Plain
}

log.Println("Reply: ", body)
log.Println("HTML: ", message.HTML)
Receiving email attachments efficiently
We can also receive attachments in an efficient way. Email attachments can either be embedded into the Webhook or they can be extracted from the email and uploaded to an attachment store such as AWS S3, Google Cloud Storage or Azure Blob Storage.
When email attachments are embdeded into the Webhook they're sent using Base64 encoding and can easily be extracted to write to disk. However, this can be overly heavy for HTTP servers and some servers refuse to accept large file uploads (See our S3 email attachments blog post).
When email attachments are extracted we simply receive a URL pointing to their storage location inside we Webhook. There are more details about attachment Attachment Storage in the documentation. However, in the following example we can receive a simple attachment with the URL to the Cloud Storage location.
    log.Println("Attachment Name: ", message.Attachments[0].FileName)
    log.Println("Attachment URL: ", message.Attachments[0].URL)
The full code
All of the code discussed above can be seen in the example below:
package main

import (
  "fmt"
  "log"
  "net/http"

  "github.com/cloudmailin/cloudmailin-go"
  )

func main() {
  http.HandleFunc("/", func(w http.ResponseWriter, req *http.Request) {
    message, err := cloudmailin.ParseIncoming(req.Body)
    if err != nil {
      http.Error(w, "Error parsing message: "+err.Error(), http.StatusUnprocessableEntity)
      return
    }

    body := message.ReplyPlain
    if body == "" {
      body = message.Plain
    }

    fmt.Fprintln(w, "Thanks for message: ", message.Headers.MessageID())

    log.Println("Reply: ", body)
    log.Println("HTML: ", message.HTML)

    log.Println("Attachment Name: ", message.Attachments[0].FileName)
    log.Println("Attachment URL: ", message.Attachments[0].URL)
  })

  http.ListenAndServe(":8080", nil)
}
That's the code complete. We can upload the code and try it out! Let's send an email to our Go application!
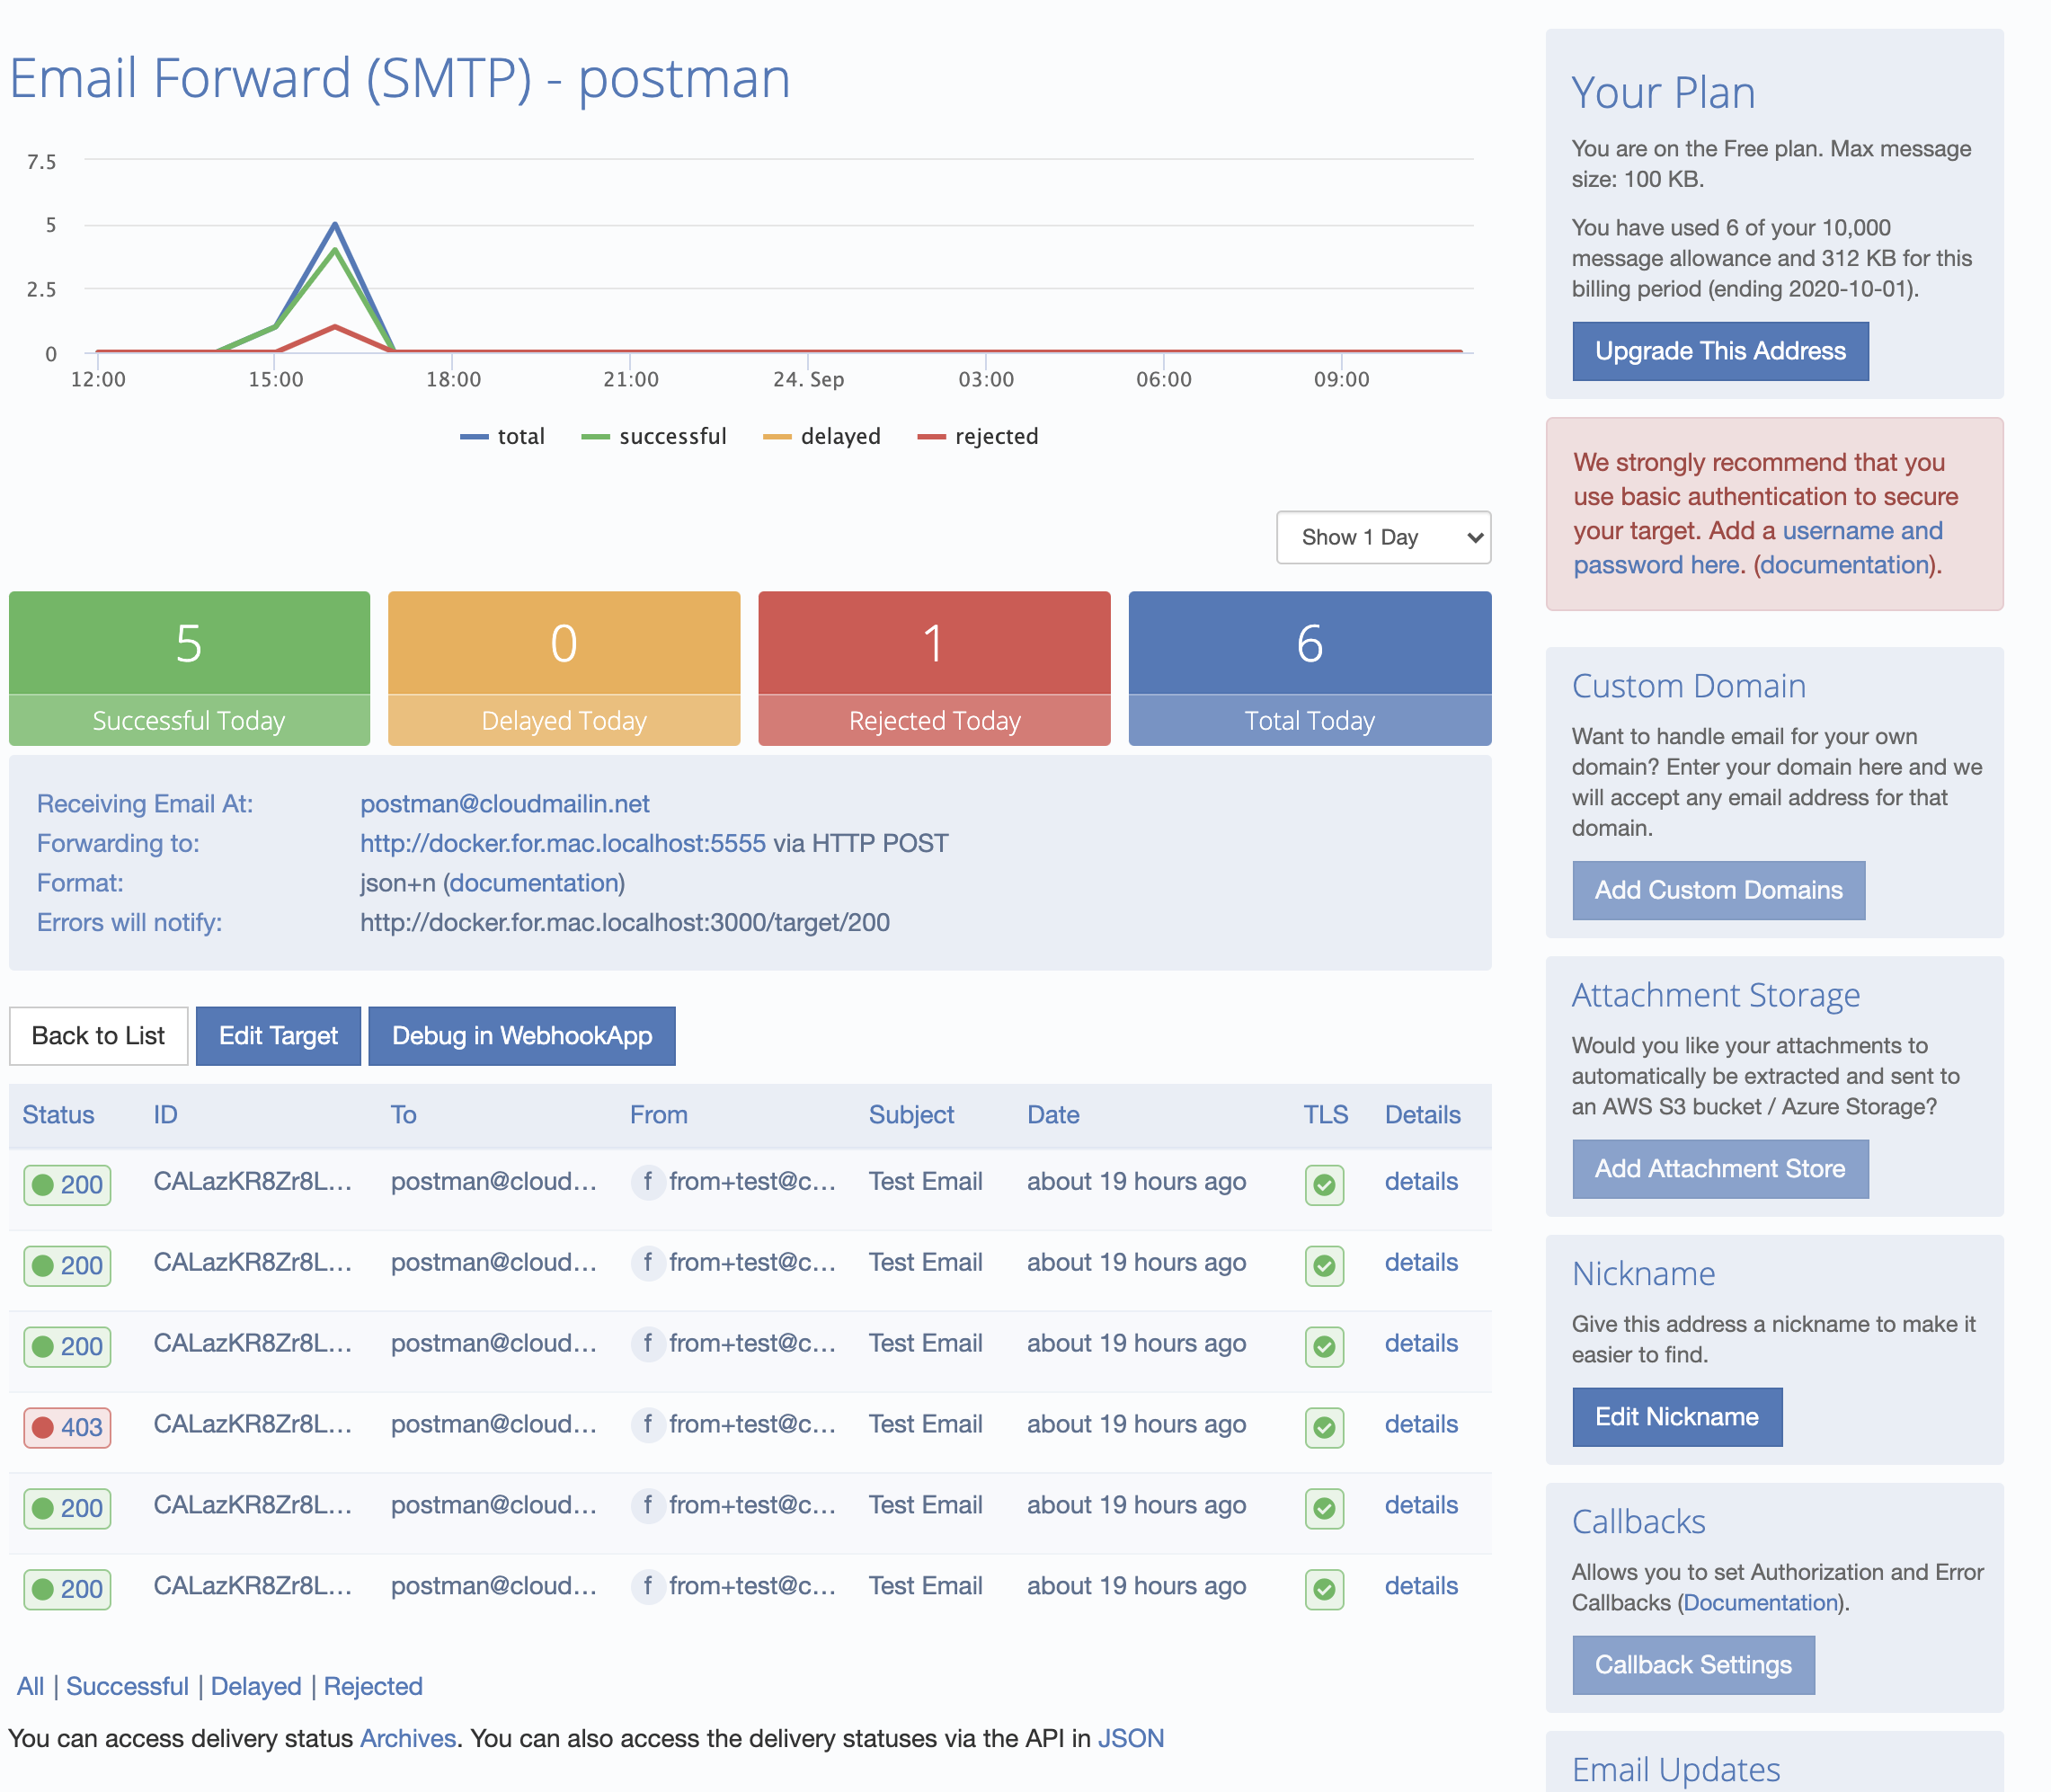
When we send an email of the details are listed in the dashboard. Here we can dig in and see the details. If the HTTP response of your server does not return a 2xx status code then the response will be recorded (see Status Codes):
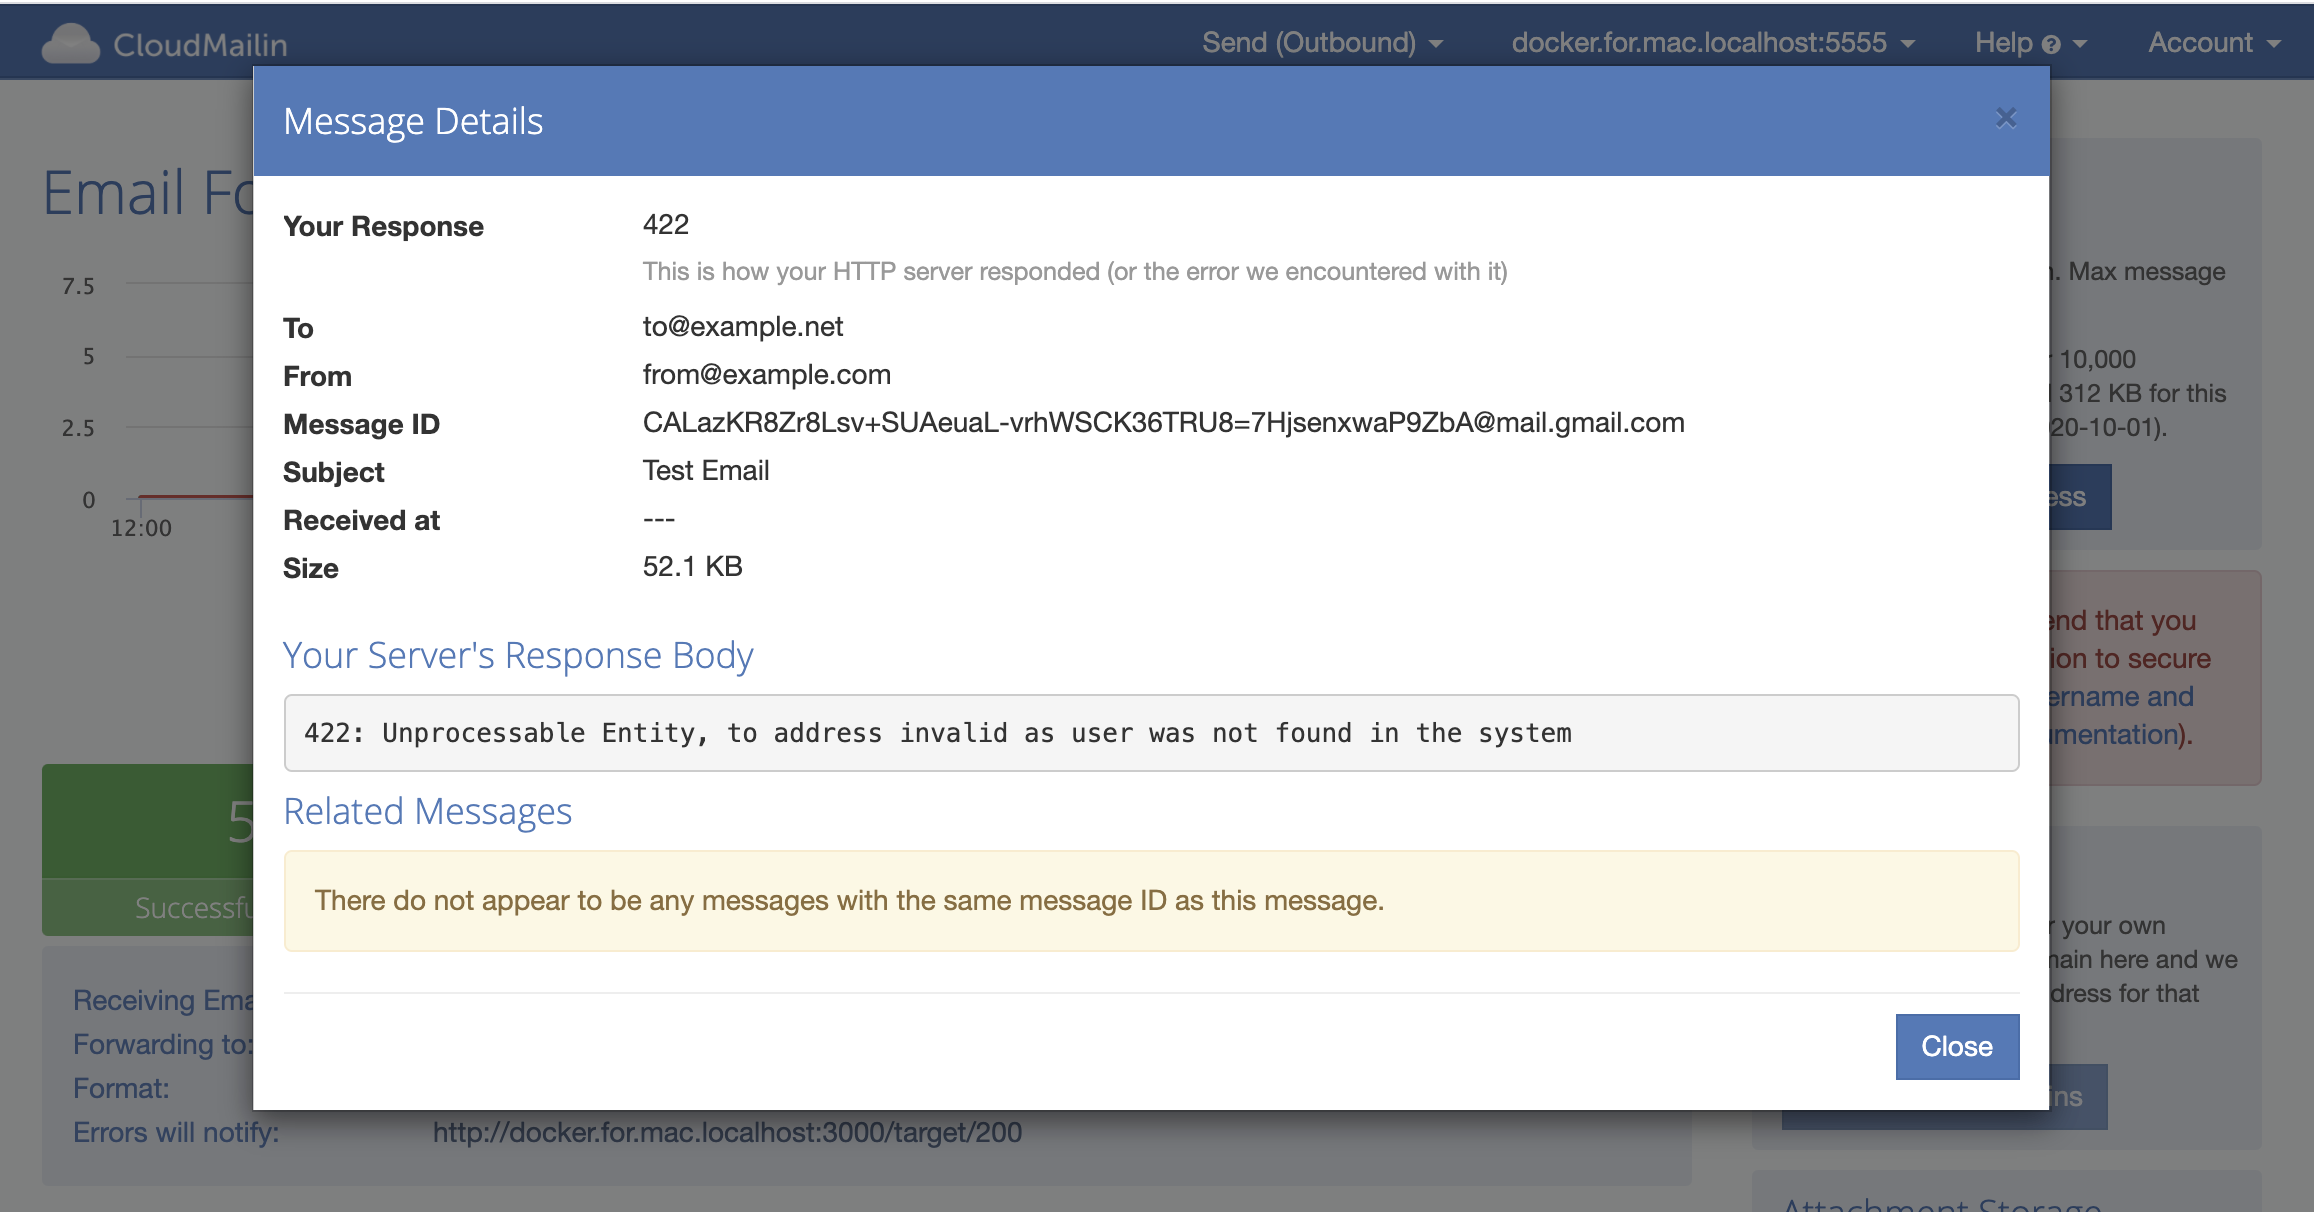
That way we can debug any emails that don't appear as we expect. As always if you have any questions or want to give things a try feel free to Contact Us.
